clewsy
A work-in-progress
The rad10 project consists of a raspberry pi, a speaker and a small amplifier.
The pi takes minimal input - a rotary encoder with a push-button toggle. Rotate to control the volume, push the button to toggle pause/play
A daemon written in C (rad10d) runs on the pi and polls for changes in the encoder or a push of the toggle button. The code is available on gitlab.
The daemon is configured as a service to run at boot. It intefaces with MPD using the API thanks to the libmpdclient C/C++ library.
Audio is output from the raspberry pi 3.5mm audio jack to a single speaker via a small amplifier module.
Initially I found (via dmesg) that the raspberry pi occassionally triggered an undervolt warning. It never crashed, but with some experimenting I found the under-voltage would occassionaly be triggered at higher volumes when the amplifier drew higher currents. I fixed this by switching to a 4amp power supply and a big capacitor to help supply peak loads.
The prototyping was done with a breadboard until I got the code working before making it permanent.
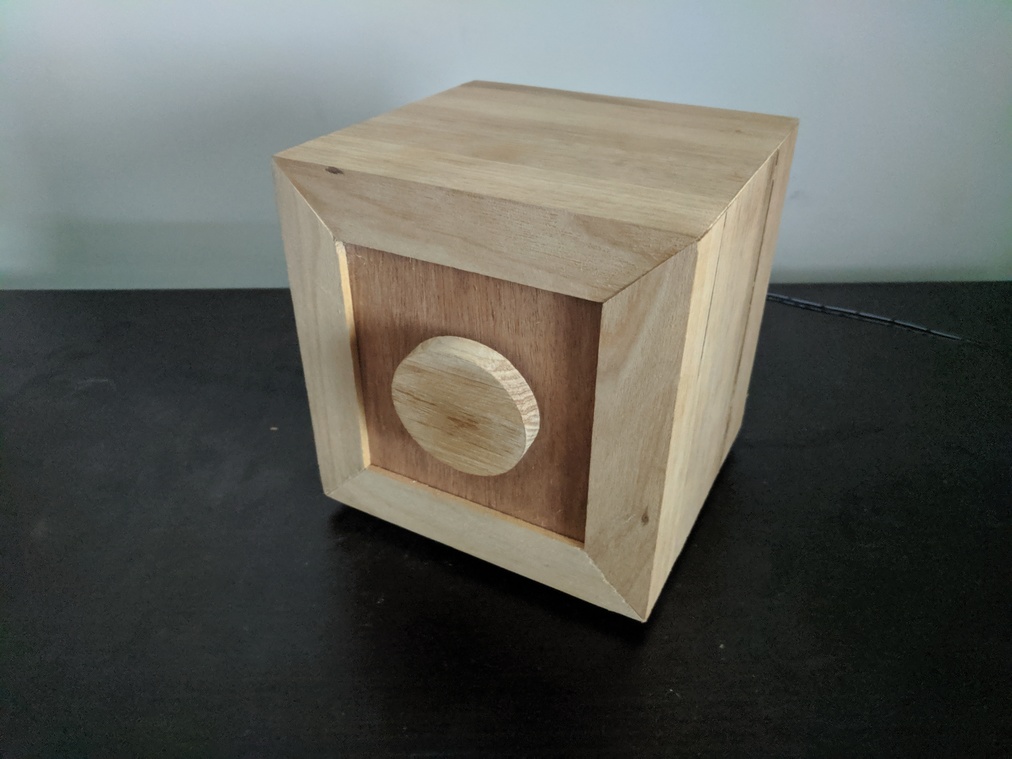
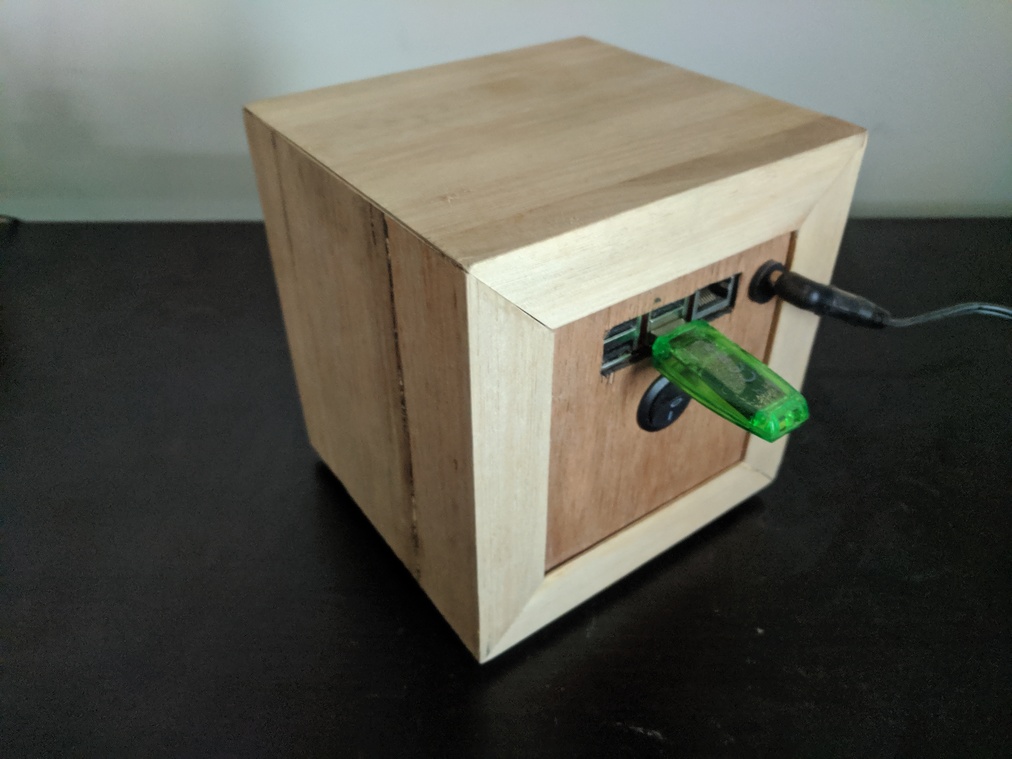
I had been experimenting with some hobbyist-level woodworking so I decided to put it all in a wooden box, most of which is recycled pallet wood. Access to the ethernet and usb ports was retained for alternative connectivity and the ability to play MP3s from a usb drive, though I almost exclusivley use it for playing a few streams over wifi.
Mostly I use this self-contained, wifi-connected setup to stream "radio", though it is also configured to locally mount an nfs share containing my music collection.
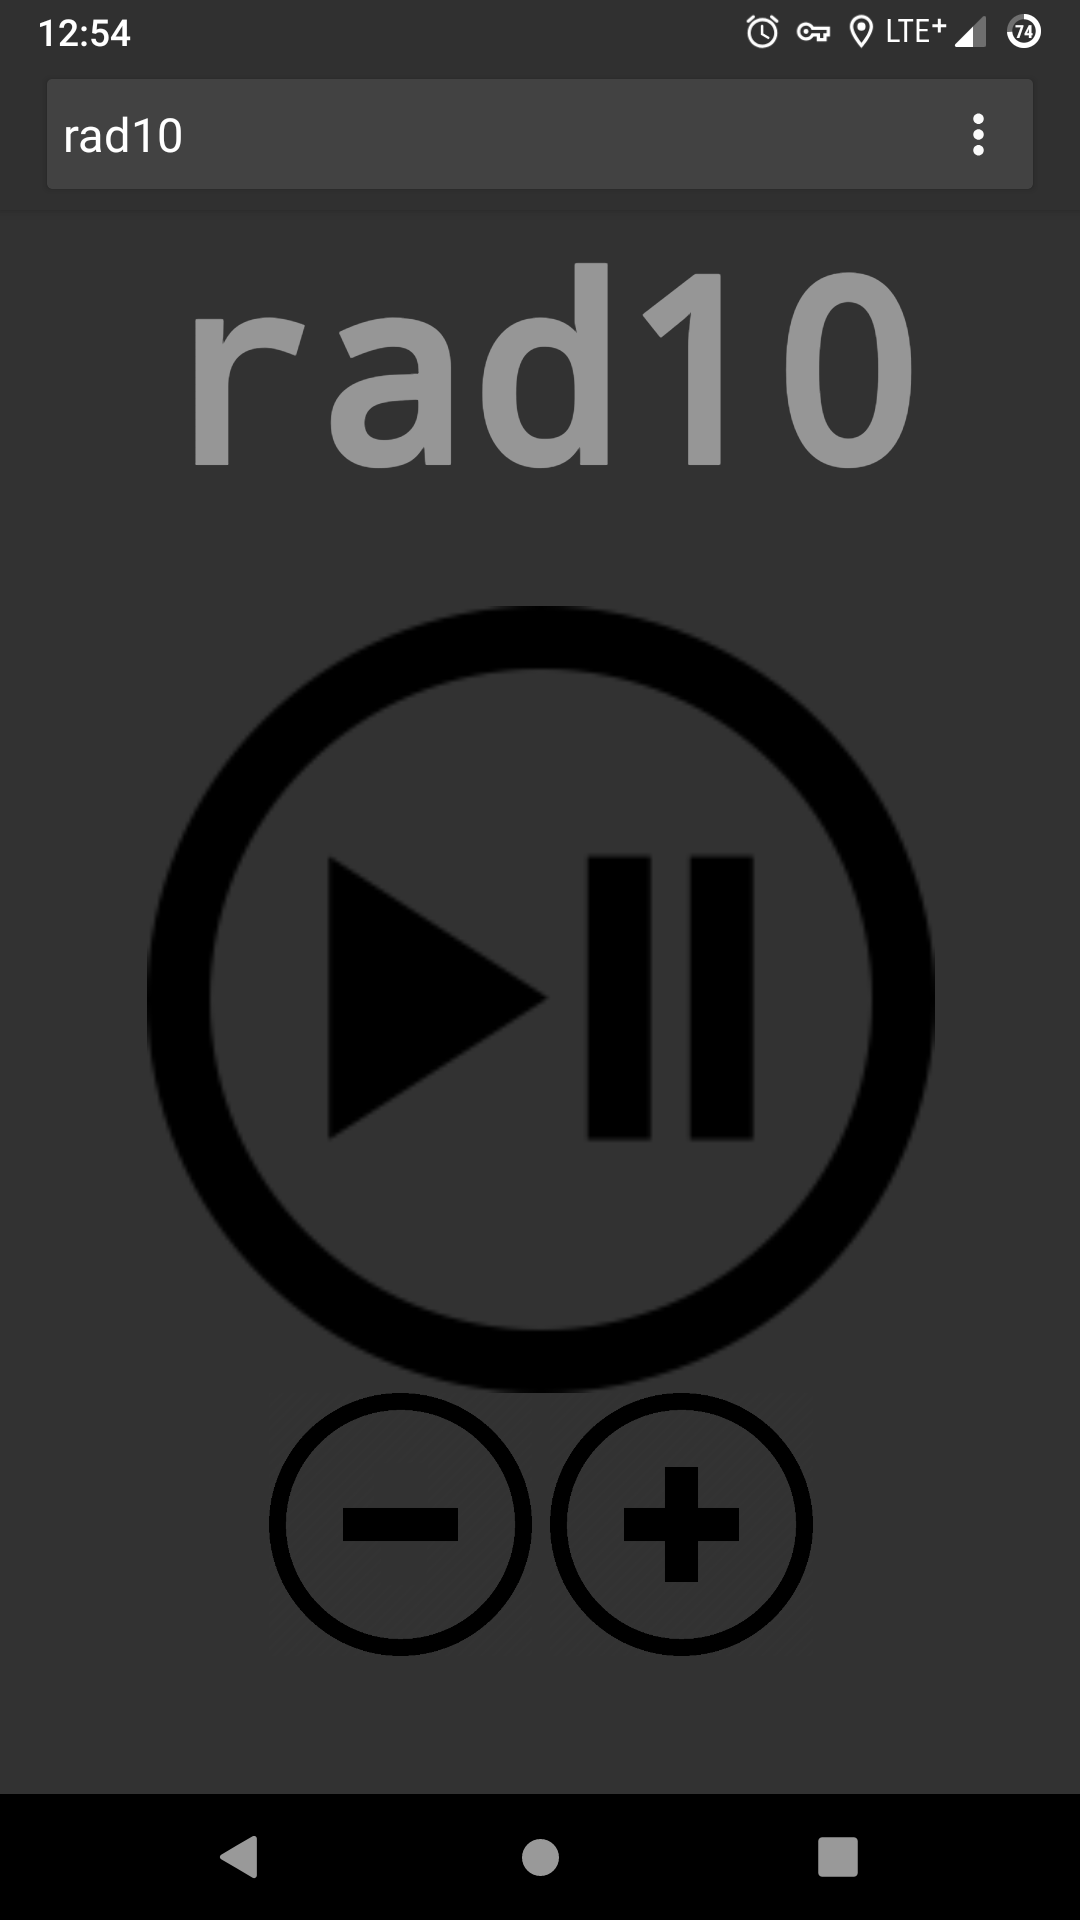
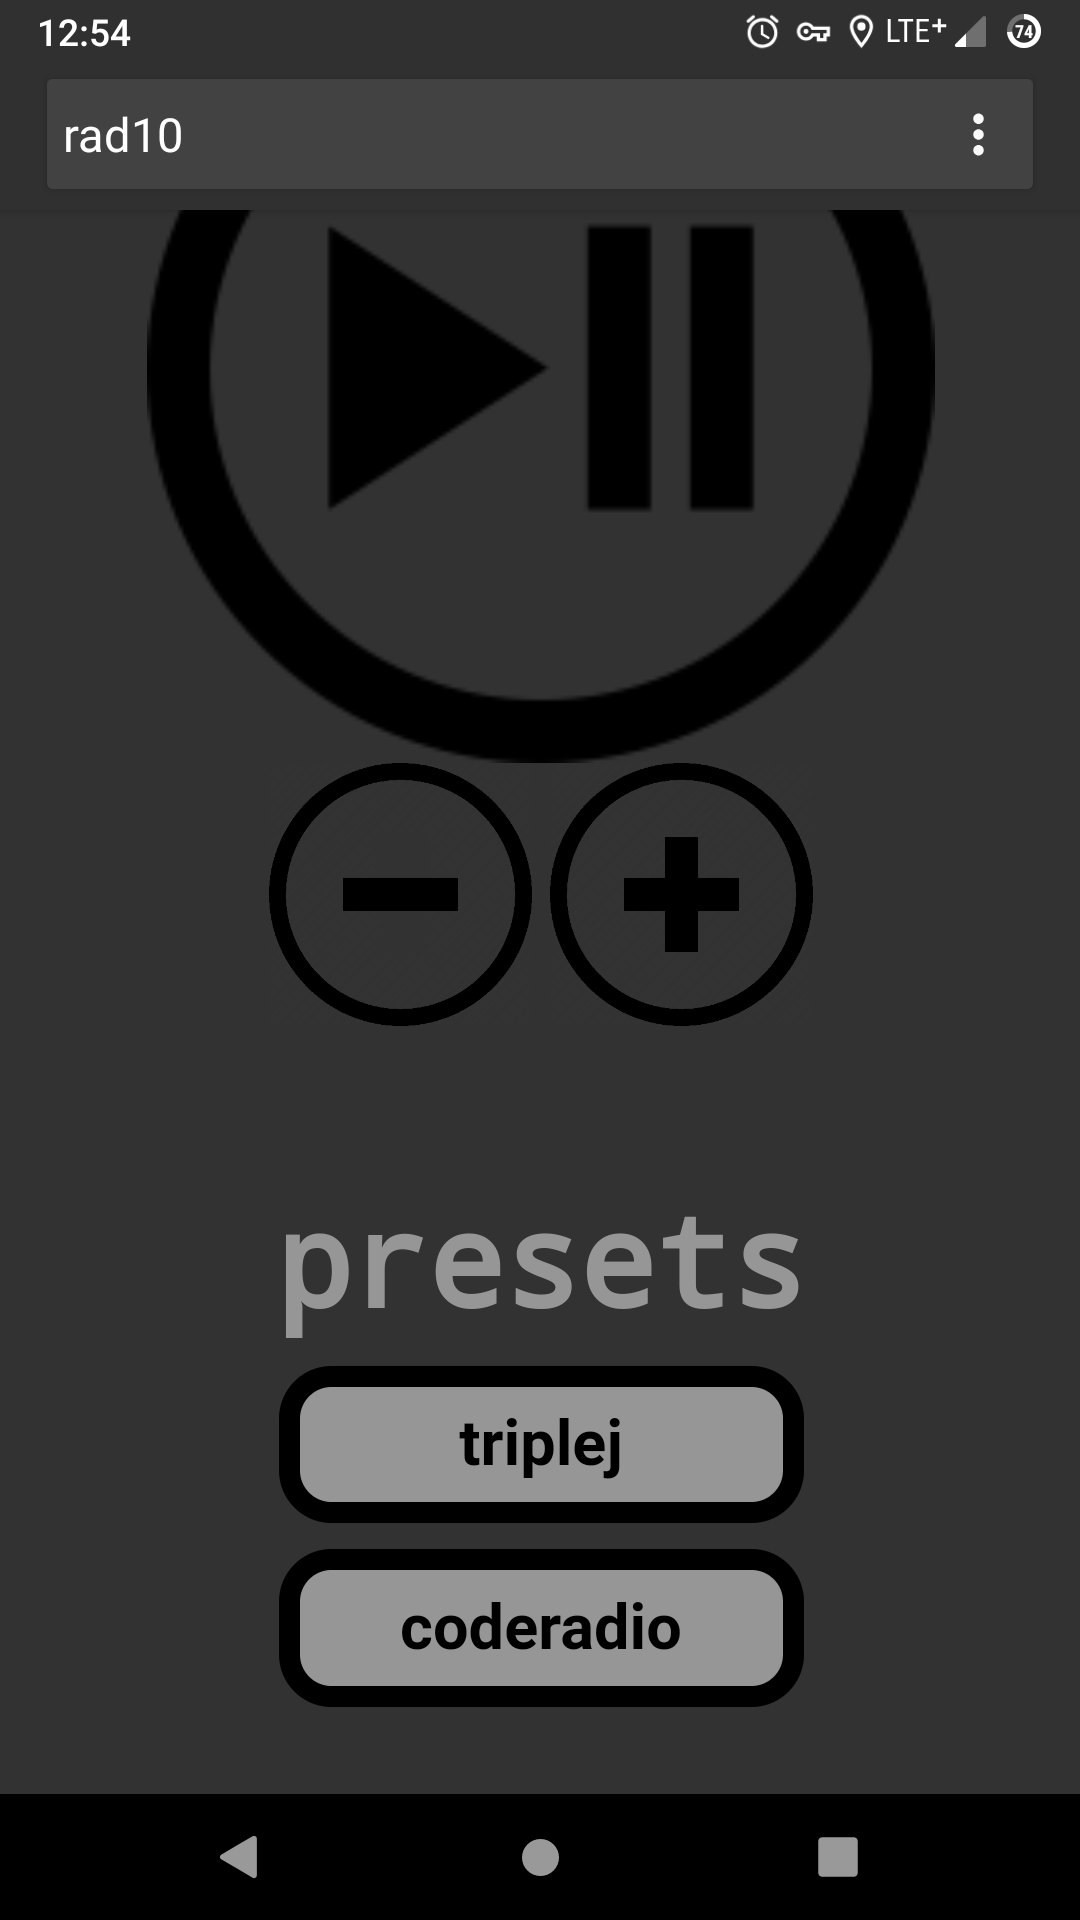
There are a few MPD client apps for android that allow finer control of MPD (I like M.A.L.P.) That said, in keeping with the minimalist hardware interface, I created a similarly minimal web interface with a small amount of php, html and css. This WebUI provides the same contol (play/pause and volume +/-), but I also added a few "preset" buttons to launch my most-used streams.
Written in C, the daemon code will compile to an executable called "rad10d". The code draws from two libraries:
Using the pigpio library, three of the raspberry pi gpio pins are configured as inputs. Although there are multiple pins that could be used for interfacing with an encoder, following is the configuration I implemented:
All three pins are configured to trigger one of two interrupt sub-routines (ISR):
The main routine of the daemon includes an infinite loop that will poll flags set by the ISRs. Said flags will trigger functions that use the libmpdclient library to control mpd with volume-up, volume-down, play, pause or stop signals.
Install the dependencies:
$ sudo apt update
$ sudo apt install pigpio mpd mpc libmpdclient-dev
(Note, mpc is not strictly required for the daemon, but I recommend it as a useful command-line client for control of mpd, and debugging for a project like this.)
Clone the repo and compile the executable "rad10d":
$ git clone https://gitlab.com/clewsy/rad10d
$ cd rad10d
$ sudo make install
The install target in the makefile will automatically compile/install the daemon and also enable/start the systemd service so that the daemon will run at boot. running make install is equivalent to running the following commands:
$ make
$ sudo cp rad10d /usr/local/sbin/rad10d
$ sudo cp rad10d.service /lib/systemd/system/rad10d.service
$ sudo systemctl enable rad10d.service
$ sudo systemctl start rad10d.service
The installation can be reversed with the uninstall target:
$ sudo make uninstall
For the raspberry pi to serve content over a browser, you will need to install web server software. The following example uses Apache.
To give the WebUI the ability to execute commands, I used php code. Therefore php will also need to be installed on the pi.
The hardware daemon is not actually require for the WebUI. This interface could be used with any pi or other computer running mpd and mpc.
Install the dependencies:
$ sudo apt update
$ sudo apt install apache2 php mpd mpc
By default, Apache will serve up the content located within the /var/www/html/ directory. The default files installed at this location should be deleted and replaced by the contents of the "webui" directory in the rad10d repository:
$ sudo rm --recursive /var/www/html/*
$ git clone https://gitlab.com/clewsy/rad10d
$ cd rad10d/webui
$ sudo cp --recursive * /var/www/html/.
(Note, cloning the gitlab repo can be skipped if this was already done to install the daemon.)
The WebUI should now be accessible over your local network.
As part of another project (clewsy_ansible) I have automated installation of the daemon and the webui. Starting with a fresh Raspberry Pi OS or Ubuntu Server installation on a raspberry pi, I can run a single playbook that will install the dependencies, clone and install the daemon and configure the webui. See the clewsy_ansible gitlab repository and specifically the main rad10 role for more information.
 |
 |
 |
 |
 |